Photography has long been considered just a hobby, however, in this day and age, it’s a powerful tool for e-commerce and social media profiles, as it works as an eye-catcher for followers and customers.
Photo editing became one of the hard skills for performing various jobs online, giving a rise to editing software and applications.
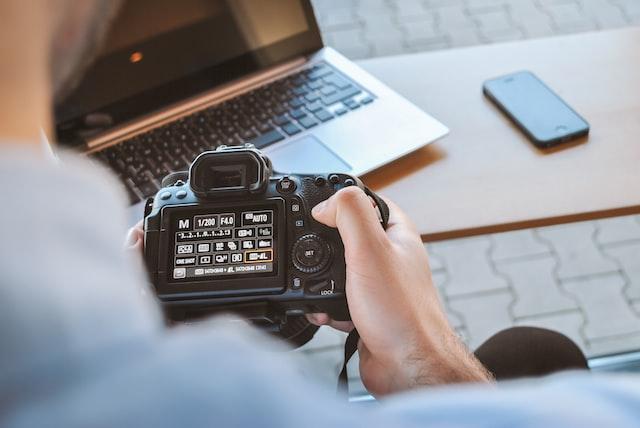
When you take a shot, it typically is a bit different from the initial idea due to the lack of skills, characteristics of the camera, and surroundings. However, photo-editing applications can help you alter the image according to the mental image, and put the final touches to make it perfect.

Whether you are a casual user of a camera or a professional, photo-editing software and its functions will help you to:
- – enhance the quality of the image,
- – adjust the technical requirements of the image,
- – bring the focus to the key features,
- – transform a good photo into the perfectly-fitting one.
The photo-editing market offers countless solutions, starting with Adobe products, which are well-known, yet can be quite pricy and heavy on the space, and finishing with something like Vista Create, PicMonkey, or Snappa, which offer professional tools for their users with free access to the majority of the functions.
When choosing the software, consider the following:
- The programs offer destructive and non-destructive editing. Destructive doesn’t save the original image, applying all the changes on it. Non-destructive creates a copy, and makes all the changes to it.
- Camera compatibility – is an essential requirement for transferring accurate colors, and details, and have an access to all the tools.
- Library of tools for various purposes – having multi-functional software will be a unique solution to fit all your needs – either e-commerce images, an Instagram profile, or a professional magazine. VistaCreate features over a thousand templates, subtle filters and effects, cropping and sizing options, text design, a rich brush library, etc. The better the choice, the more suitable it’s for usage.
After choosing the software, it’s necessary to learn basic editing functions, and then make your way toward more advanced options.
The Basic Tools for Photo Editing:
1. Balance of White
The balance of white helps to make the picture look more natural. If the overall color of the image isn’t appealing and doesn’t match reality, white balance adjustments will fix it. White balance helps to render specific colors, especially neutral ones, correctly.
This function is particularly helpful for JPG images, as they don’t capture as much digital data as RAW format.
2. Contrast and Exposure
Contrast is about the ratio of white and black in the picture. When there’s too much, the objects will seem quite flat and lifeless. When it’s too high, there will be too dark and too bright areas. Medium contrast will set the best vision of colors.
Typically, the medium level is used for the majority of purposes, yet in some cases, the low and high adjustments can create a necessary mood for the image.
Exposure settings will help you make the picture as bright as you want, it defines the amount of light you let on the photo. The longer the exposition, the better will be the vision of dark elements.
3. Saturation and Vibrancy
Saturation and vibrancy help to make the most out of the colors as they emphasize their intensity. Saturation will help to intensify all the colors, while the vibrancy is more specific and focuses on the mid-tones, making them more visible.
4. Cropping and Straightening
Cropping is extremely useful for highlighting the main details or making the right repositioning of the key objects. Cropping will work best with high-resolution photos.
Straightening is used to get rid of accidental Dutch angles and should be checked at the very beginning of photo editing.
Read Also:
5. Sharpening
Sharpening is a powerful editing tool as well. It works best when you need to emphasize the clarity and texture of the image, which, in its turn, draws the attention of the viewer.
Digital cameras always blur the photos to some extent, and the usage of sharpening can help with the correction. While social media photos may not need this option, the ones to be enlarged and printed will definitely benefit from it.
Professional photography isn’t only about a super-expensive camera and the right composition. It’s about the knowledge of editing as well.
The post-production process matters as it helps to add the final touches to the image, making everything look the way you see it, and correcting all the mistakes and errors of the initial image.
The above-mentioned characteristics are important to be checked every time the photo is planned to be used publicly, as they create the basis of every captivating image.
Choose the right software, which will help your knowledge produce the best results and enjoy your editing experience.


