
For the past 70 years, everyone has used computers, and many of us are familiar with how they work. The CPU is one of the most crucial and vital components.
It is the computer’s brain or controller. As a result, it has some interceptions when it is heavily used. Let’s talk about why this happens and how to fix it.
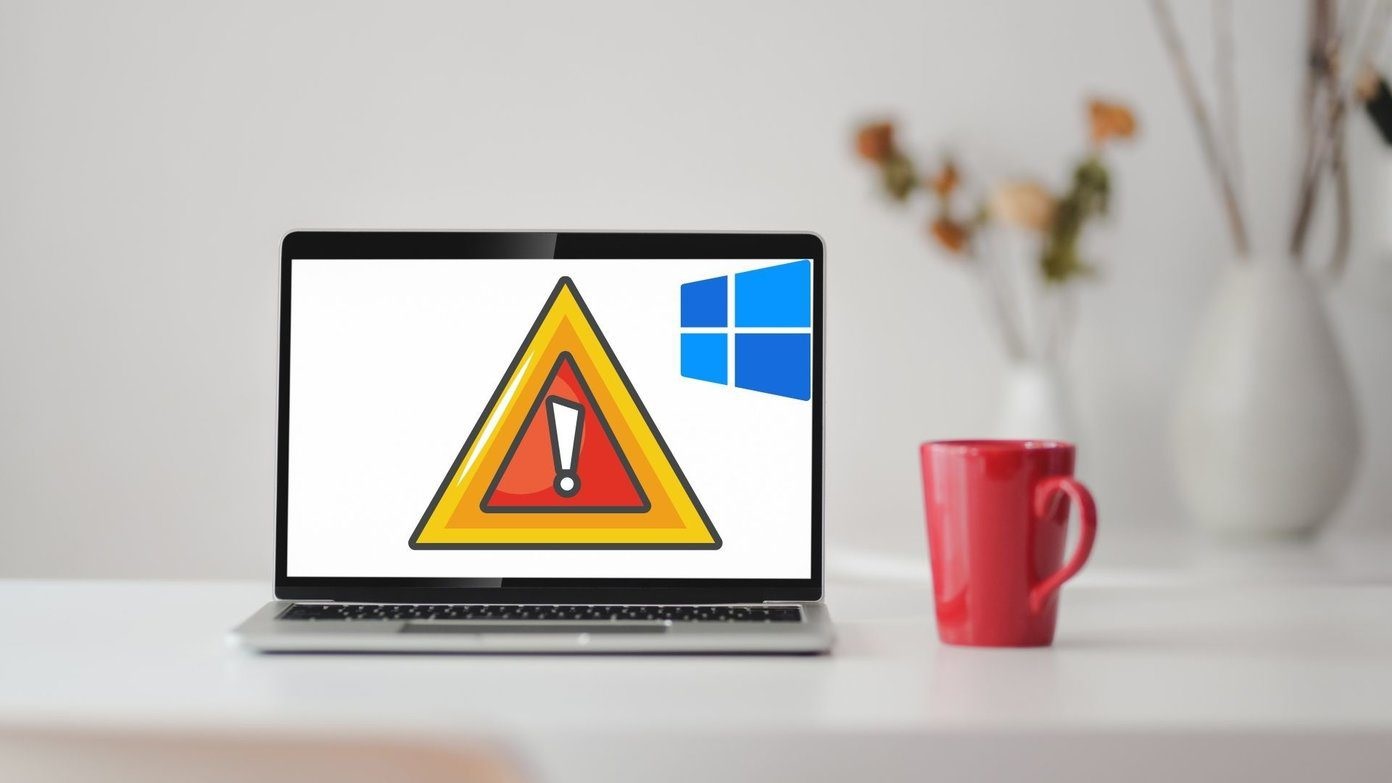
Reasons for the Error
The cause of the CPU spike that causes system disruption is a loss of power supply or a low battery. It could also be due to out-of-date hard drivers.
Fixes for High CPU System Interrupts
Every issue has a resolution. So, to resolve these types of system outages, follow the instructions carefully and prudently.
Solution 1: Disabling USB Root Hubs
Disabling the USB root hubs is the first step in resolving the system disruption. To disable the USB root hubs, follow the procedures below –
Step 1: To begin, click start, and then run.
Step 2: After clicking that, put devmgmt. msc into the open box and then click OK.
Step 3: Now you’ll need to extend the USB (Universal Serial Bus) controllers.
Step 4: To uninstall the afflicted USB root hub, right-click it and select uninstall.
Step 5: Restart your computer after deleting it.
After the machine boots up, Windows will automatically scan for hardware changes and reinstall any USB root hubs that were previously uninstalled.
Solution 2: Disabling Audio Enhancements
Disabling your audio improvements is the next or alternate way to fix the system interruption. To turn off audio improvements, follow the instructions below –
Step 1: Right-click on the volume icon in the right-hand bottom toolbar of your Windows.
Step 2: You’ll hear a click.
Step 3: Select the device you’re currently using on the playing tab, then click the Properties option.
Step 4: Go to the enhancement tab, then tick or pick “disable all sound effects” under the enhancement tab.
Step 5: Once you’ve double-checked all of your edits, click apply and then OK.
Solution 3: Disabling the Wake on Magic Packet Settings
Disabling the wake on magic packet settings is the next or alternate approach for fixing the system disruption. Follow the steps below to disable the wake on magic packet settings –
Step 1: Go to the start menu and then to the settings menu.
Step 2: After that, go to network&internet, and then to advanced network options.
Step 3: Select More Network Adapters from the drop-down menu.
Step 4: Select properties from the right-click menu for the network adapter choice.
Step 5: After that, pick Wake on Magic, then Disabled.
Solution 4: Installing Intel Rapid Storage Technology
Installing Intel Rapid Storage Technology software is the next or alternate approach for resolving the system disruption. To install Intel Rapid Storage Technology and accompanying software, follow the steps below:
Step 1: The first step is to install the operating system.
Step 2: In the BIOS configuration, enable Intel Rapid Start Technology after installation.
Step 3: On the SSD, build a hibernation part.
Step 4: Verify the hibernation partition after it has been created.
Step 5: Install the Intel Rapid Start Technology software after that.
Step 6: Now it’s time to put Intel’s rapid start technology to the test.
Solution 5: Disabling Fast Startup
Turning off quick startup is the next or alternate approach for resolving the system disruption. To fix the interruption, follow the instructions for turning off the rapid startup:
Step 1: Click on Windows, then type power options and press Enter.
Step 2: Select “Choose What the Power Buttons Do” from the left menu.
Step 3: Uncheck or remove the tick from the box next to turn on rapid startup under the shutdown button.
Step 4: Finally, click the Save Changes button to save your changes.
Solution 6: Troubleshooting Devices and Drivers
Fixing troubleshooting devices and drivers is the next or alternate option for resolving the system disruption. To fix the interruption using troubleshooting devices and drivers, follow the steps below –
Step 1: Determine the nature of the issue with expertise and Windows Task Manager.
Step 2: Once you’ve identified the problem, use a performance monitor or a process explorer to diagnose it.
Step 3: The problem can be solved by removing, reinstalling, or disabling the troublesome driver.
Conclusion
Here is the remedy to the system interruption caused by excessive CPU utilisation. Here’s all you need to know about how and why this problem arose, as well as how to solve it utilising various ways and solutions.
Use it carefully to keep your system running smoothly even when the CPU is under heavy load.


